Idea 1


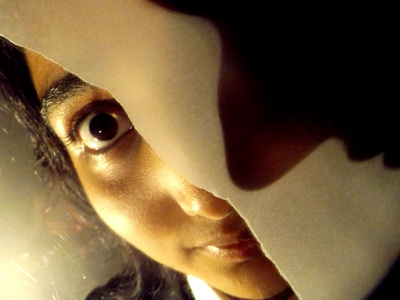
From this picture I learnt that sometimes by distorting the picture more you get a better outcome and sometimes its not best to use symmetry as it may make the picture look boring.
|
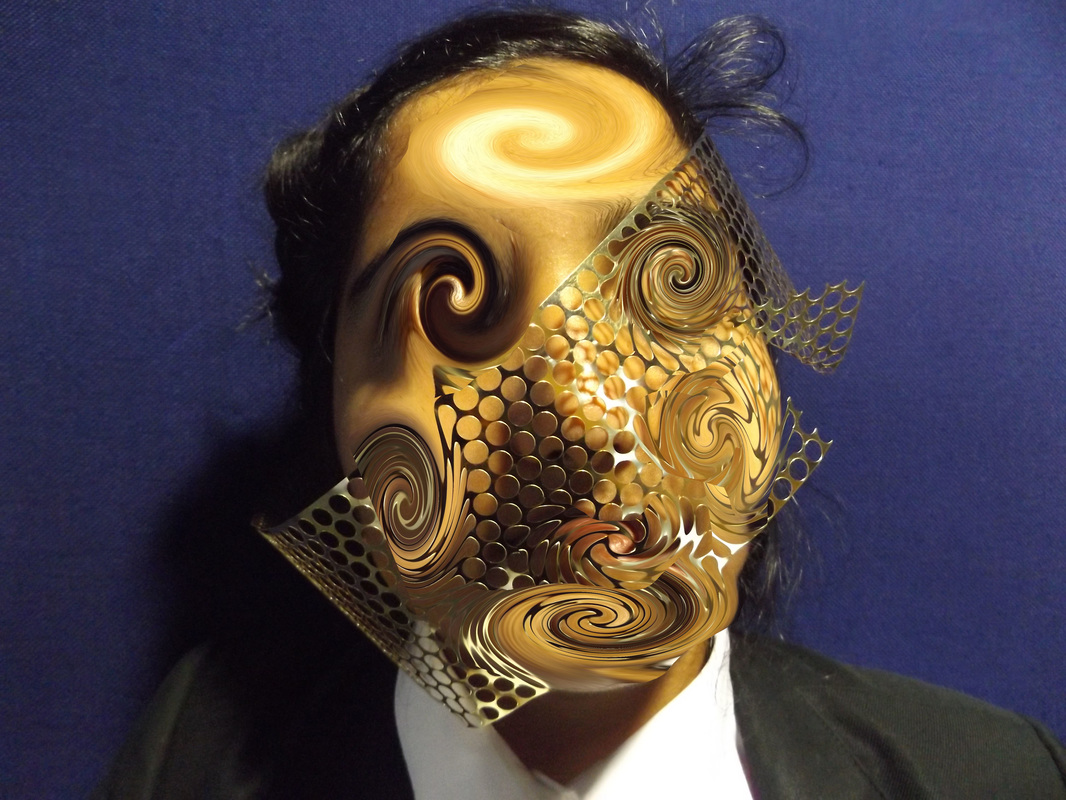
From idea 1, this is my favourite picture. For this picture I had to take a lot of disguise photos to be able to edit them. For this one I took a close up of my model standing behind a dark blue background and then I used a gold metallic material full of circles and wrapped it around her face diagonally. I uploaded this picture then I edited the picture to look better but also natural, by cropping and levelling the colours. Next I selected a certain area of her face that I wanted to edit, then I went on filter, distort and finally clicked on twirl. This twirled the area that I selected. I repeated this process a few times to get this outcome. I like this picture because I didn't need to do so much to make it look good, it looks natural especially with the shadow that was created. To improve this picture I should of made it look slightly more strange and a lot more distorted to look Fantastic and Strange.
|
Idea 2


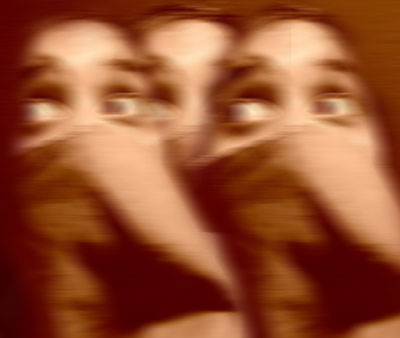
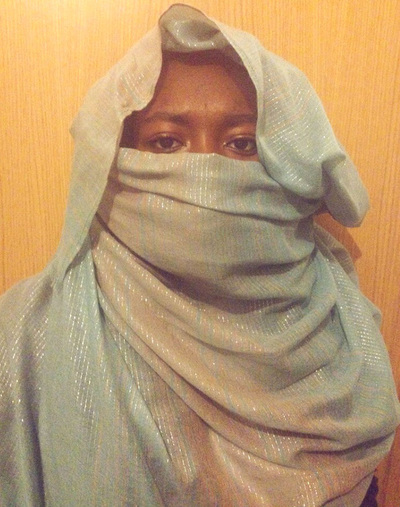
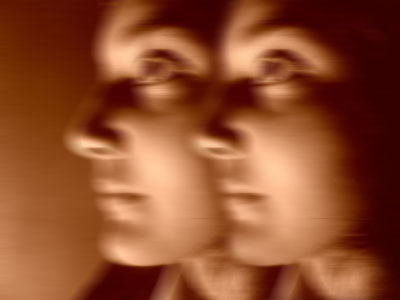
To improve this picture maybe I could of only layered one picture, it makes the picture look very crowded. From creating this picture I have learnt that sepia and shadows go well together and by layering some pictures on top you can get a good result.
|
From Idea 2, this picture is my favourite picture. For this picture my model stood behind a dark blue background and used a material, a piece of cloth to cover the bottom half of her face, leaving her eyes and hair exposed. I uploaded this picture and edited it by cropping, by levelling the colours and also by using sepia to get the old photo effect. Next I clicked filter, blur and then motion blur to make the picture look as if the camera was moved. After, I copied and pasted(layered) the picture onto the original one and moved it to the right and then used the rubber tool to rub out some parts of the picture so it wasn't clear that it was 2 picture, I repeated this processed but instead moved the picture to left. The outcome was of 3 copies of my model. I really like this picture as it looks really interesting especially with the colour and the shadows that were created, it definitely reaches my aim, to look fantastic and strange.
|
idea 3


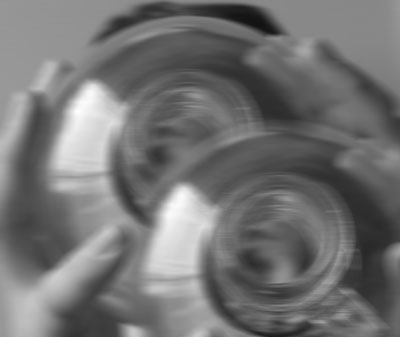
From this picture I have learnt that black and white normally looks better when the picture has a lot of shadows and I have also learnt that by moving different layers around I can create a double vision effect that you would normally get when you're dizzy.
|
From idea 3, this picture is my favourite picture. To make this picture I placed my model in front of a white background and then placed a big glass bottle in front of his face to take the picture. I uploaded this picture, then edited it by cropping and making the picture black and white. Next I went on filter, blur and then clicked on motion blur. Next I copied the picture then layered it on top of the blurred photo, after this, I moved the picture down to the bottom left and used the rubber tool to make the picture look natural and that it hasn't been layered. I like this picture because the glass makes the picture look very interesting and by copying and layering the picture on top of the picture I created a sort of double vision effect, which I find makes the picture look really good. To improve this picture I should of kept the picture in colour instead or added sepia.
|
Idea 4
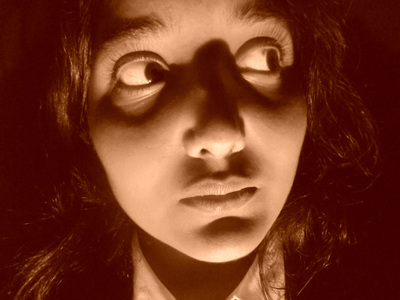


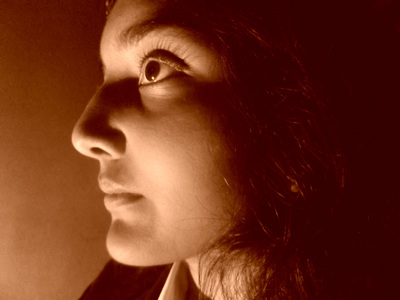
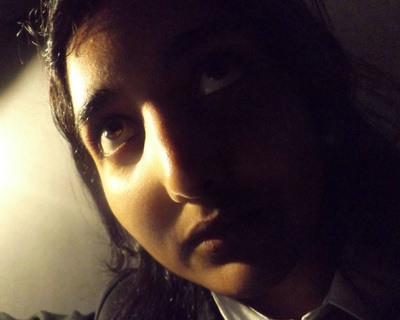
From making this picture I have learnt that using lights and moving them around and placing them at certain angles creates a dark, gloomy effect that makes the picture look good.
|
From idea 4, this picture is my favourite. For this picture I took a close up of my model in a dark room behind a black background. Next I turned of the light and used a lamp instead to position it at an angle to create shadows around certain areas of her face. I uploaded this picture and then I edited the picture by cropping and adding sepia. After this I clicked on filter, other and maximum. I like this picture because the lighting that was used creates a scary, dark effect which makes the picture look really good. I also like how the effect makes the picture look sort of blurred, to me it look like, when you look through a glass window with rain pouring down the window. To improve this picture I could of levelled the colours to make the colours slightly darker, to make certain areas of her face stand out, for example her lips.
|
Idea 5


To improve this picture I could of made it black and white or maybe sepia. From creating this development I have learnt that by moving the lighting around I can create shadows and place them in certain areas.
|
From idea 5, this is my favourite picture. for this picture I placed my model behind a black background, placed a plastic screen half covered in tracing paper in front of her face and by placing the lamp at a certain angle. This allowed me to capture half of her face and the lamp caused a shadow of part of her face (her nose and lips) to appear onto the tracing paper. I uploaded this picture and then I edited it by cropping and by levelling the colour. Next I went on filter, and clicked on liquefy, this then allowed me to pull certain parts of her face to make it look like its melting. I pulled all of her visible face and left the shadow on the tracing paper. I like this picture because it looks fantastic and strange and also by liquefying only her visible face I have created something that resembles a distorted mask.
|
Idea 6


|
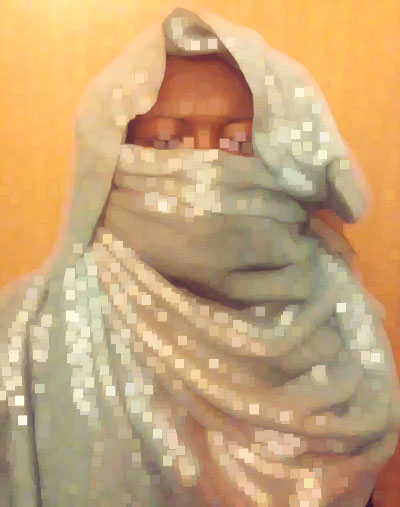
From idea 6, this is my favourite photo. For this picture I placed my model behind a door (a orange background), next I wrapped my model up in a light blue and light orange scarf. After, I uploaded this picture and edited it by cropping and levelling the colour. Then I pressed filter, other and maximum to create that pixelated look. I like this picture a lot because of the colours in the photo, and also because the edits really makes the photo look like a disguise. I also like it because it doesn't just look like a photo but a painting as well. To improve this photo I could of used a different lighting to create shadows and to add more depth into the photo and maybe I could of took the shot from a different angle. From this photo I have learnt that I should use different lightings to create depth, to improve the photo and that by selecting the best edit for the photo you can make a great photo.
|
|
Idea 7


|
From idea 7, this is my favourite photo. For this photo, I placed my model in front of a black background, turned of the light and used a lamp to move around her face, to create shadows, more depth to the photo. Next I uploaded the photo and edited it by cropping, levelling the colours and by adding sepia. After that I pressed filter, blur and then motion blur. I then proceeded to copy and layer the image on top of itself and then move the image slightly to the right. After, I used the rubber tool to rub out all unecesarry parts of the photo. This created this double vision effect. I like this picture a lot because of the lighting and colour that was used for this photo and I also like the double effect. To improve this photo I could of tried this photo in colour or in black and white or maybe took the picture from a different angle.
|

From this photo I have learnt that lighting is very necessary to create more depth to the photo and make it look more interesting.
|
Idea 8


|
From idea 8, this is my favourite photo. For this photo I used a long piece of purple cloth with gold patterns on top, and draped some of the material on a door and then used the leftover material to wrap up my model with. I covered my models hair and shoulders and left only the right side of her face exposed. I uploaded this picture and then edited it by cropping, levelling the colours and then I went on filter, pixelate and colour halftone. I like this picture a lot because it's simple and the bright colours used really catches your eyes. To improve this picture I could have used better lighting to create more shadows and maybe darkened the picture a bit as it looks slightly too bright, instead i could of made the picture black and white.
|
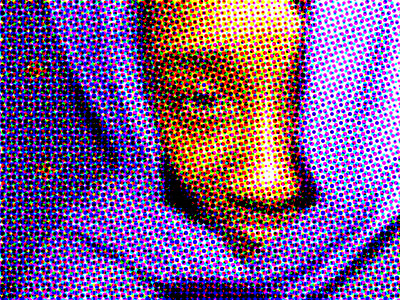
From this picture I have learnt that sometimes black and white is best and that bright colours can also be too much.
|
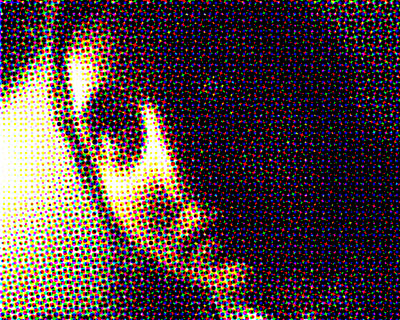
Idea 9


|
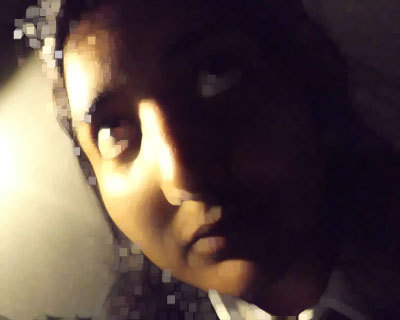
From idea 9, this is my favourite photo. For this photo I placed my model in a dark room and placed her in front of a black background. I used a lamp to move around in front of her face to create shadows. After, I uploaded this picture and edited it by cropping, levelling the colours and then I pressed filter, pixelate and colour halftone. I like this picture a lot because of the lighting used as it makes the picture look really interesting and it also has the desired effect, to look fantastic and strange. To improve this picture I could have made the photo black or white so that the shadows would stand out more or I could have added sepia instead. From this photo I have learnt that not only light makes the picture look good but where you position the light.
|
|
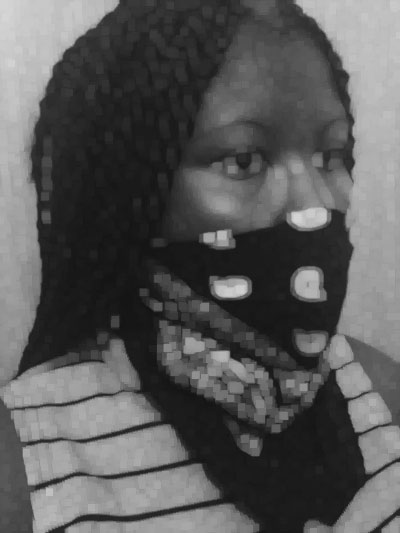
Idea 10


|
From idea 10, this photo is my favourite. For this photo I placed my model in front of a door and then wrapped the bottom half of her face with a bandanna. I then uploaded this picture and then proceeded to edit the photo by cropping, levelling the colours and by clicking black and white. After I had the basic edits finished I pressed filter, other and then maximum. I really like this photo because to me it looks like a wax figure and looks more like a painting then a photo, which makes the picture look really interesting. To improve this photo I should have used lighting to create more depth to the photo and maybe used sepia instead. From this photo I have learnt that lighting is very important.
|
|
